21 STEPS
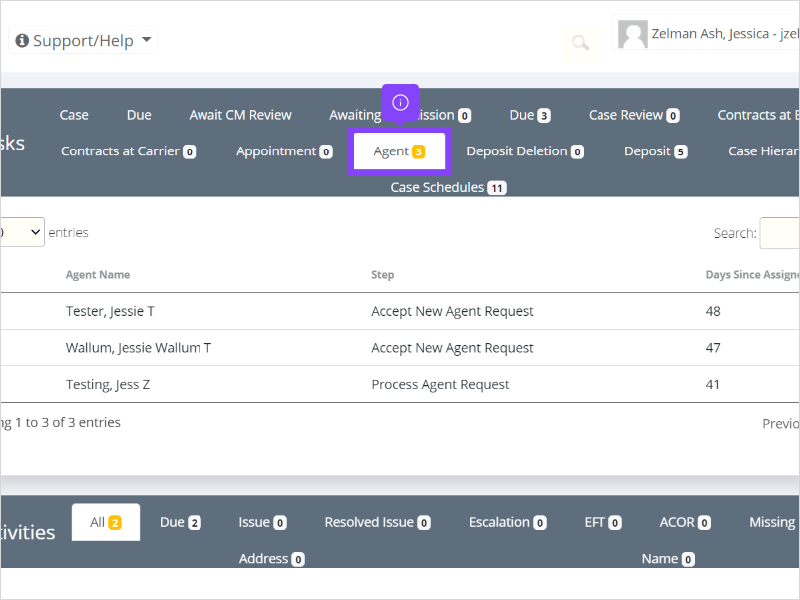
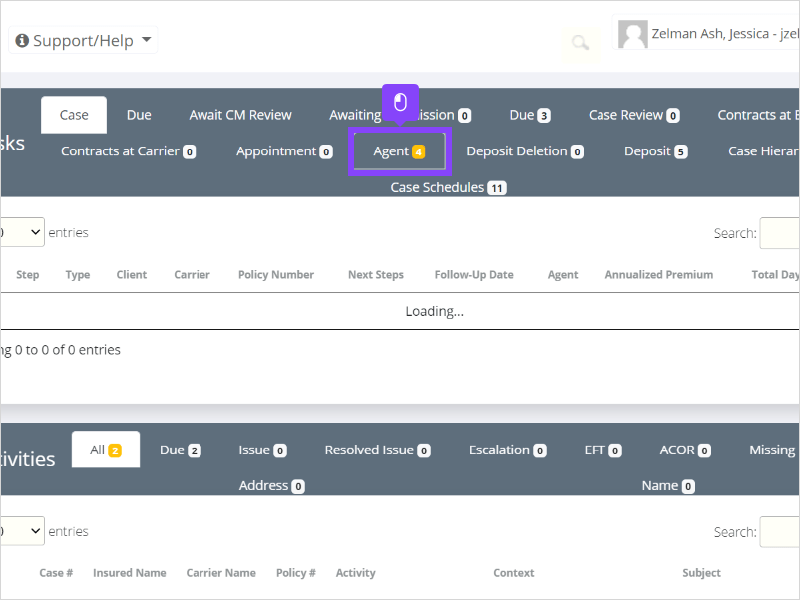
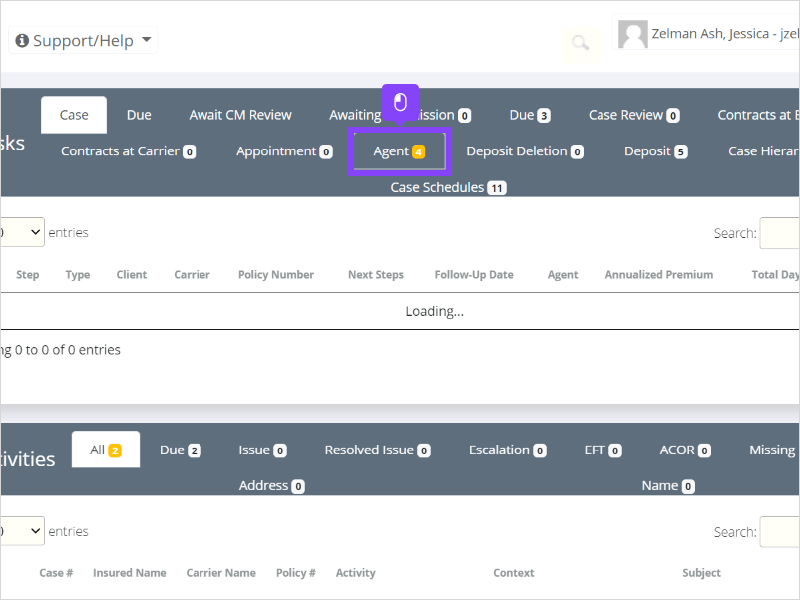
1. The first step is to click on the Agent tab.
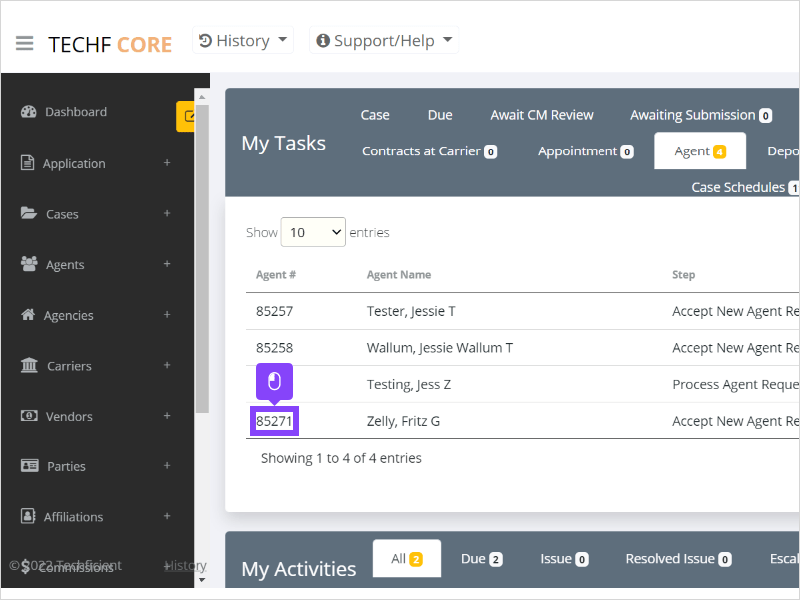
2. Click the link next to the agent you want to approve.
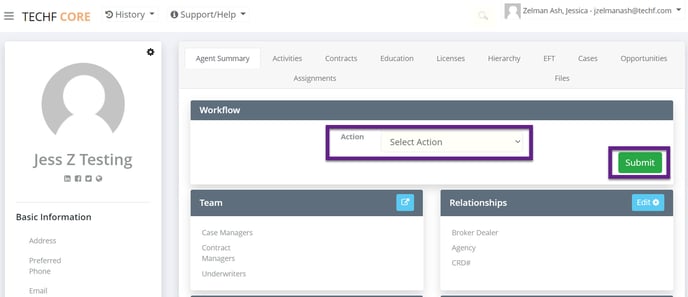
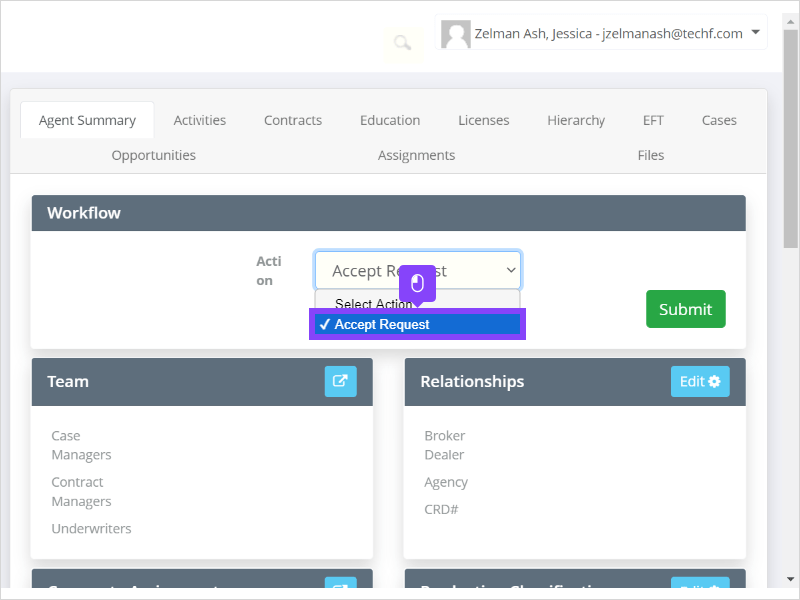
3. Click Select Action.
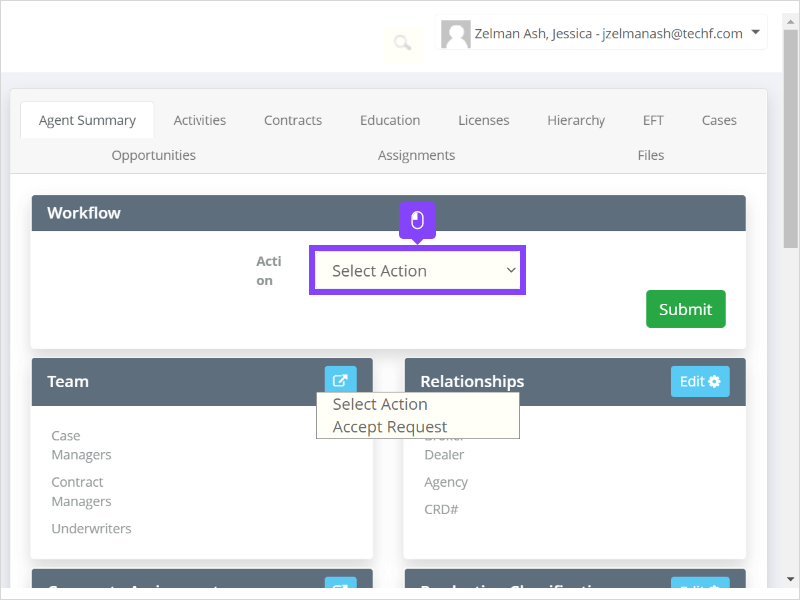
4. Select Accept Request.
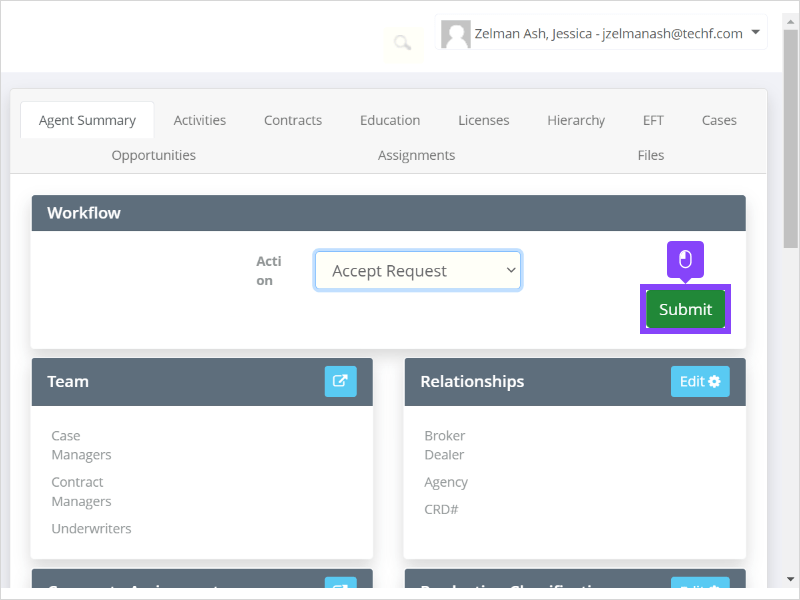
5. Click Submit.
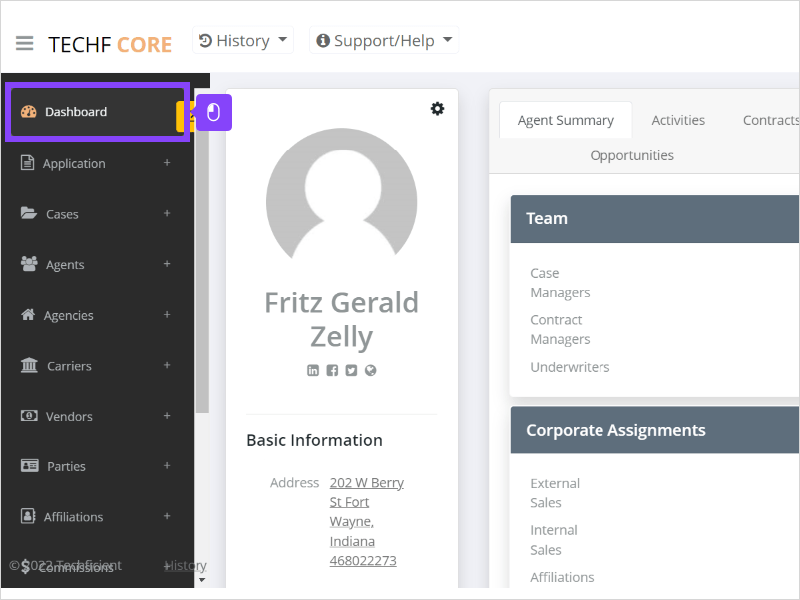
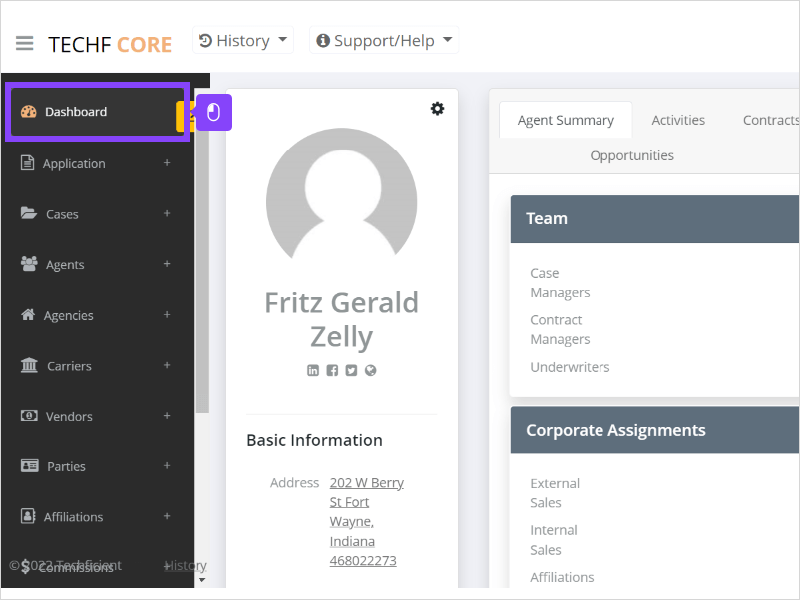
6. Click Dashboard.
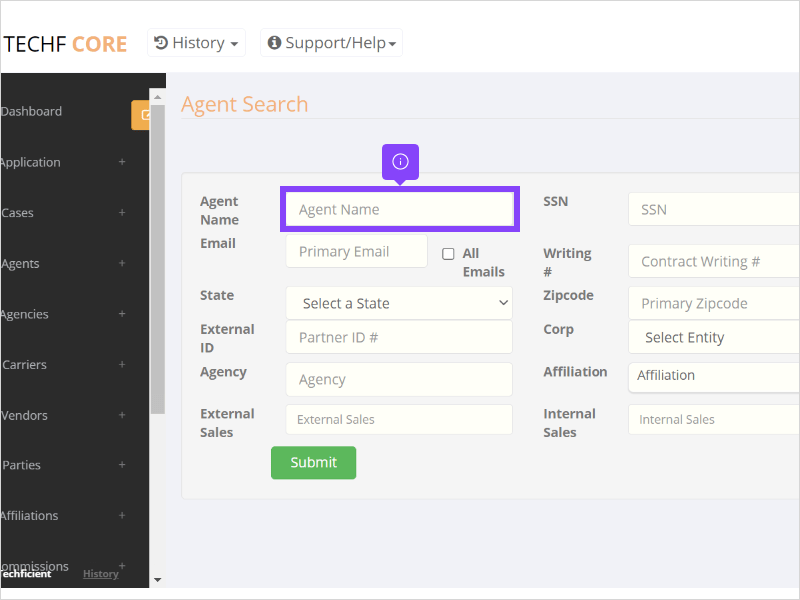
7. Click on the Agent tab.
8. Click on the link for the agent.

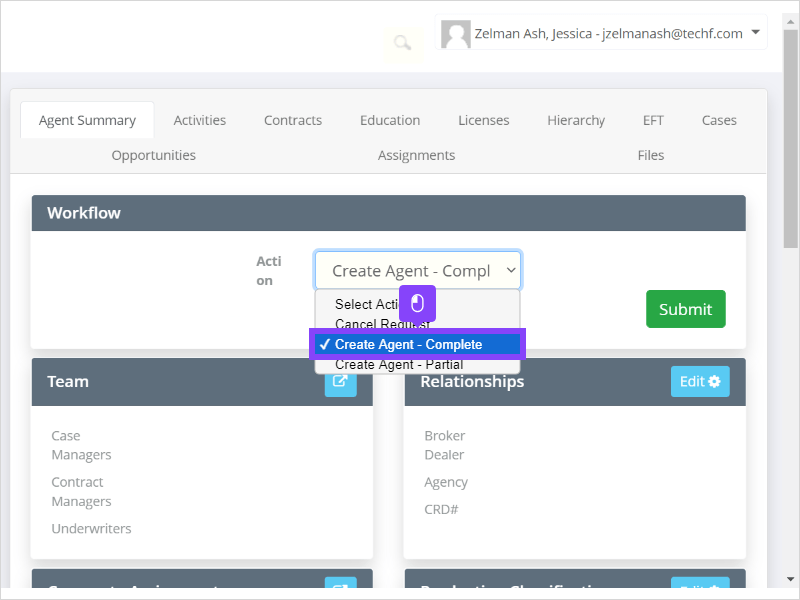
9. Click Select Action.

10. Select Create Agent - Complete.
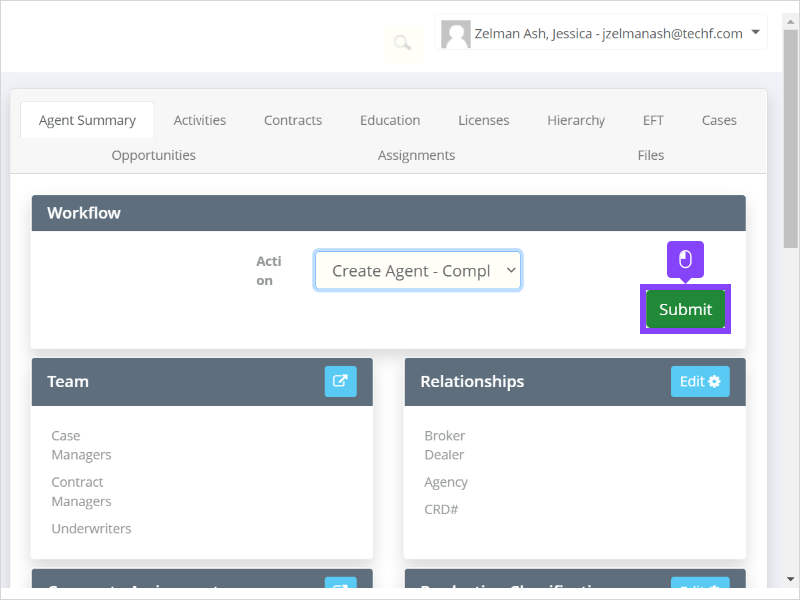
11. Click Submit.
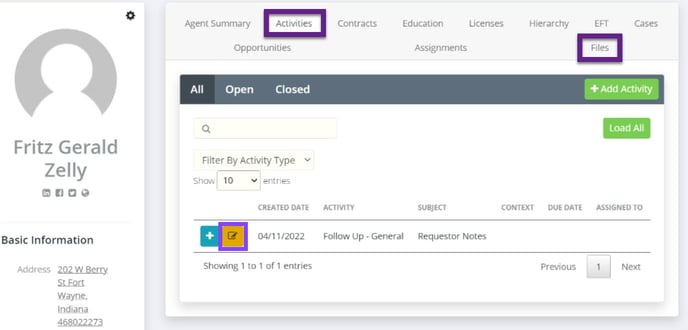
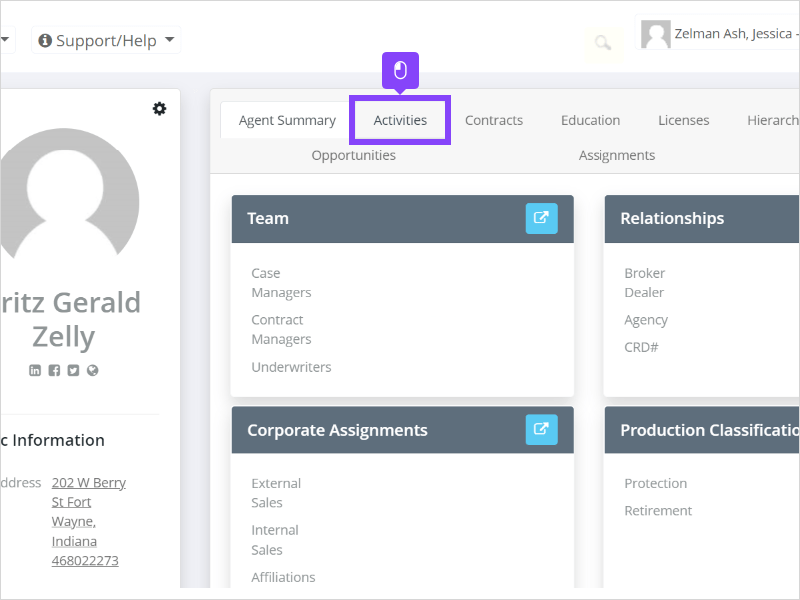
12. When a person requests an agent, they must enter in a note or upload files. Let's take a look by clicking on the Activities tab.
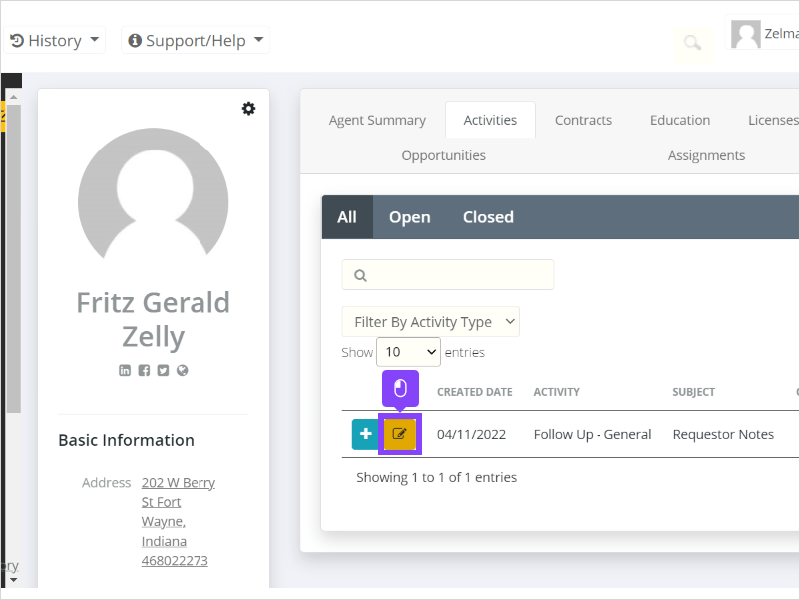
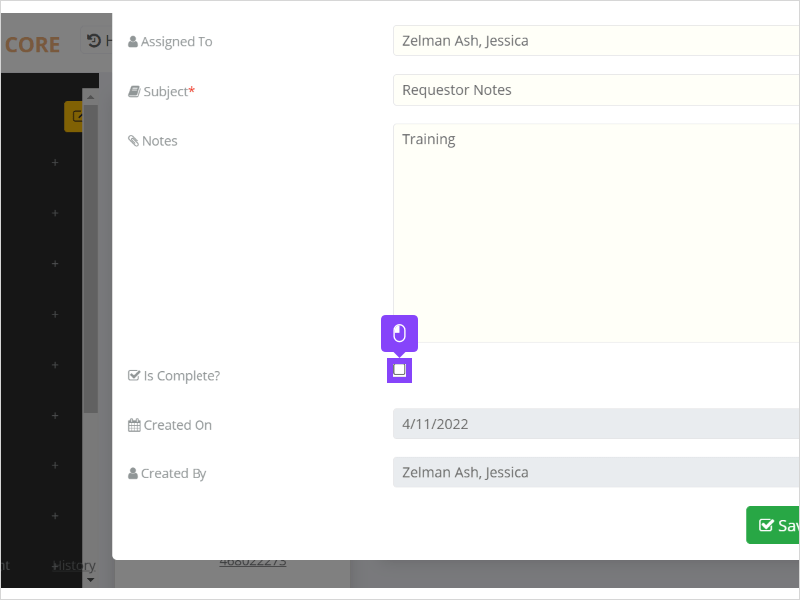
13. Click the edit button.
14. Mark that the activity is complete.
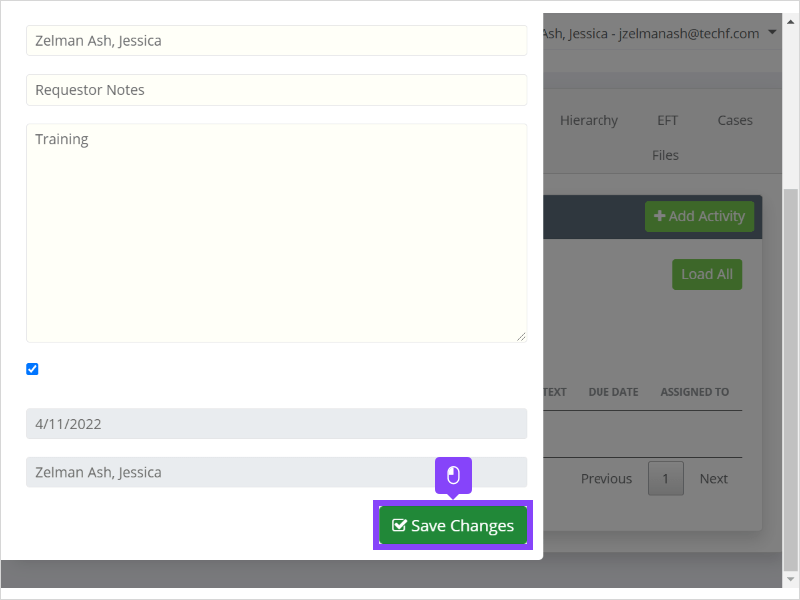
15. Click Save Changes.
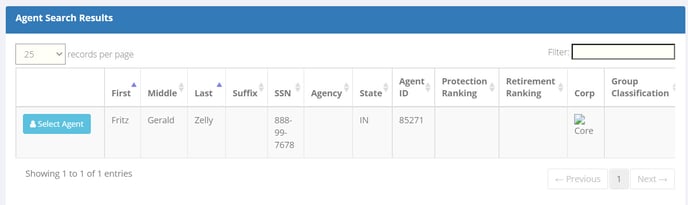
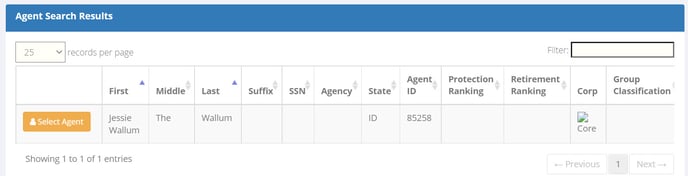
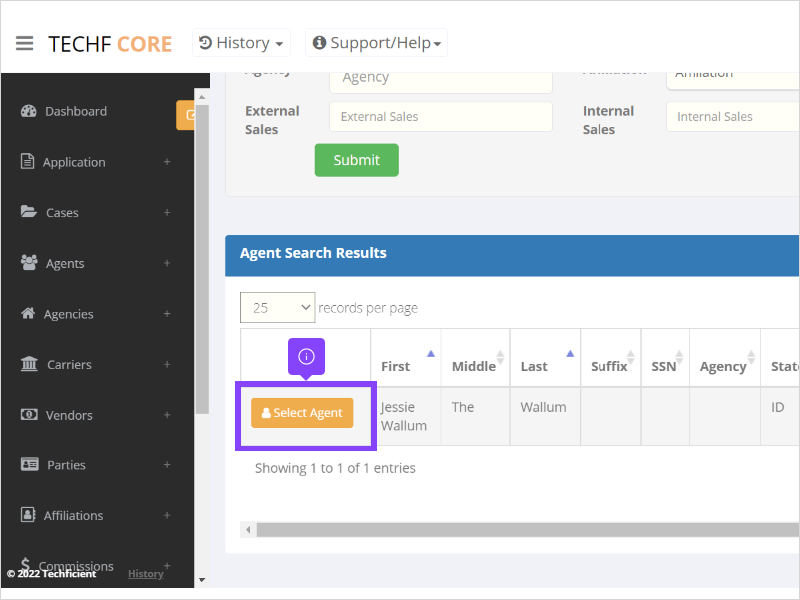
16. The buttons on an agent search also help indicate whether or not an agent is pending completion.
17. The blue button indicates that the agent is complete and no further action is needed.
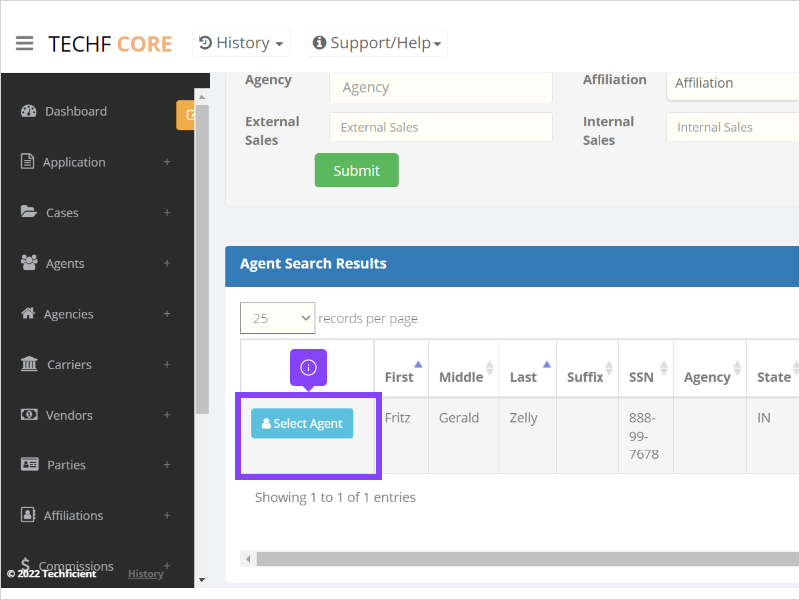
18. An orange button indicates that the agent has not been fully approved.
19. Let's go back to the Dashboard.
20. The process starts with the Agent tab.

21. That's it. You're done.